
Windows bring out the beauty in one’s home. They brighten up our rooms with natural light and can provide a stunning view of the outside world. Sadly, the truth is that windows easily collect dirt and grime even though you may clean them regularly. Worst still can be the fact that through poor window cleaning techniques, even after putting in lots of effort and elbow grease, you end up with streaks and lint that really take away from the shine and clear view that you may be looking for.
This shows us that relying on just brute effort and elbow grease alone may not be enough. When it comes to window cleaning, you need the right tools and techniques to get those shining windows you were looking for. In this article, we go over some of the common myths and misconceptions associated with window cleaning, the right tools you need to get started and the techniques you need to deliver that 10/10 clean each time. This way if you end up booking for a cleaner in Birmingham, you’ll know whether the cleaner knows what he or she is doing!
Myths and misconceptions
1. Hot water cleans windows faster
Exploring the myth
Window cleaning with hot water brings with it a host of benefits, which is why it is easy to see why this myth has been aroud for so long. These include:
1. Removes dirt more easily – hot water is more successful in removing dirt. This is because hot temperatures make dirt particles vibrate faster, which makes it a lot easier to wipe them away.
2. Removes more grease – Think of when you’re doing dishes. Hot water is more effective than cold water in getting some of that nasty grease off your plates. In the same way, it is also more effective in helping you take off grease from windows.
3. Kills more bacteria – It is no secret that higher temperatures are more effective for cleaning bacteria. This is no different for bacteria on windows.
However, there is a problem with this approach as well. Hot water makes it easier for added cleaning agents to evaporate before they exhibit their full effects in the water.
What we suggest
As with all things, there needs to be a middle ground. We recommend using lukewarm water that is only warm to the touch. This way it still maintains some of its benefits without evaporating quickly.
2. Home-made window cleaning solutions are better than store-bought window cleaners

Exploring the myth
Don’t get us wrong, home-made solutions using components such as vinegar can do a decent job in cleaning your windows. However, we believe that solutions such as these aren’t as effective as people might think. Experts have tested the cleaning powers of vinegar on windows but found that although they can leave your windows shiny, home-made solutions using vinegar don’t usually contain essential chemicals to kill of germs that store bought window cleaners may have.
In fact, it’s not just vinegar based cleaning solutions that have this deficit. We have found that most home-made cleaning solutions don’t have these essential chemicals needed to kill germs. This is where store-bought cleaners can come out on top.
What we suggest
We find that store-bought cleaners work well for window cleaning. They also have essential chemicals needed to kill harmful germs and can be less of a hassle than creating your own home-made solution.
But hey, if you’re still not convinced and prefer creating your own home-made window cleaning solution, that’s fine too. As mentioned, these still do a great job at cleaning windows. This article lists some of our favourite home-made cleaner recipes that you could try. As a bonus, if you find that you don’t have some of the materials on hand to create the solutions listed in the article, mixing small amounts of dishwashing liquid with water also gets the job done!
3. Newspapers work best for wiping windows

Exploring the myth
Although it is true that old newspaper absorbs water quite well, this isn’t necessarily the best for your windows. The ink on newspapers can colour white synthetic window frames, which can in turn cause even more work for you! Other fixes such as coffee filters and nylon stockings may not have this dangerous side effect, but these aren’t very effective for removing dirt.
What we suggest
We have found that microfibre cloth or a good old fashioned squeegee are perfect for this purpose.
4. Windows shouldn’t be cleaned on a sunny day

Exploring the myth
So this one is actually true and it’s not just because it’s way more fun to be in a park than cleaning windows on a sunny day. Sunlight can cause the water in your cleaning solution to evaporate faster on your window panes. This can result in streakes and marks on your windows that aren’t ideal for making that killer impression.
What we suggest
Sunny days can be a rare commodity in this part of the world. Go out and enjoy them instead of spending time cleaning windows. Cloudy or otherwise less sunny days should be the perfect time to pick up this task.
5. It’s okay to clean with a paper towel
Exploring the myth
Not only do most paper towels break apart easily when it’s time to clean, they also leave behind lots of lint on the glass. You might find yourself spending more time just cleaning the mess they leave.
What we suggest
Use microfibre cloth for this purpose. It is very absorbant, washable and doesn’t leave pesky streak marks on your glass.
With some of these myths and misconceptions sorted, let’s dive into the actual clean.
Window Cleaning like the Pros

What you need to get started
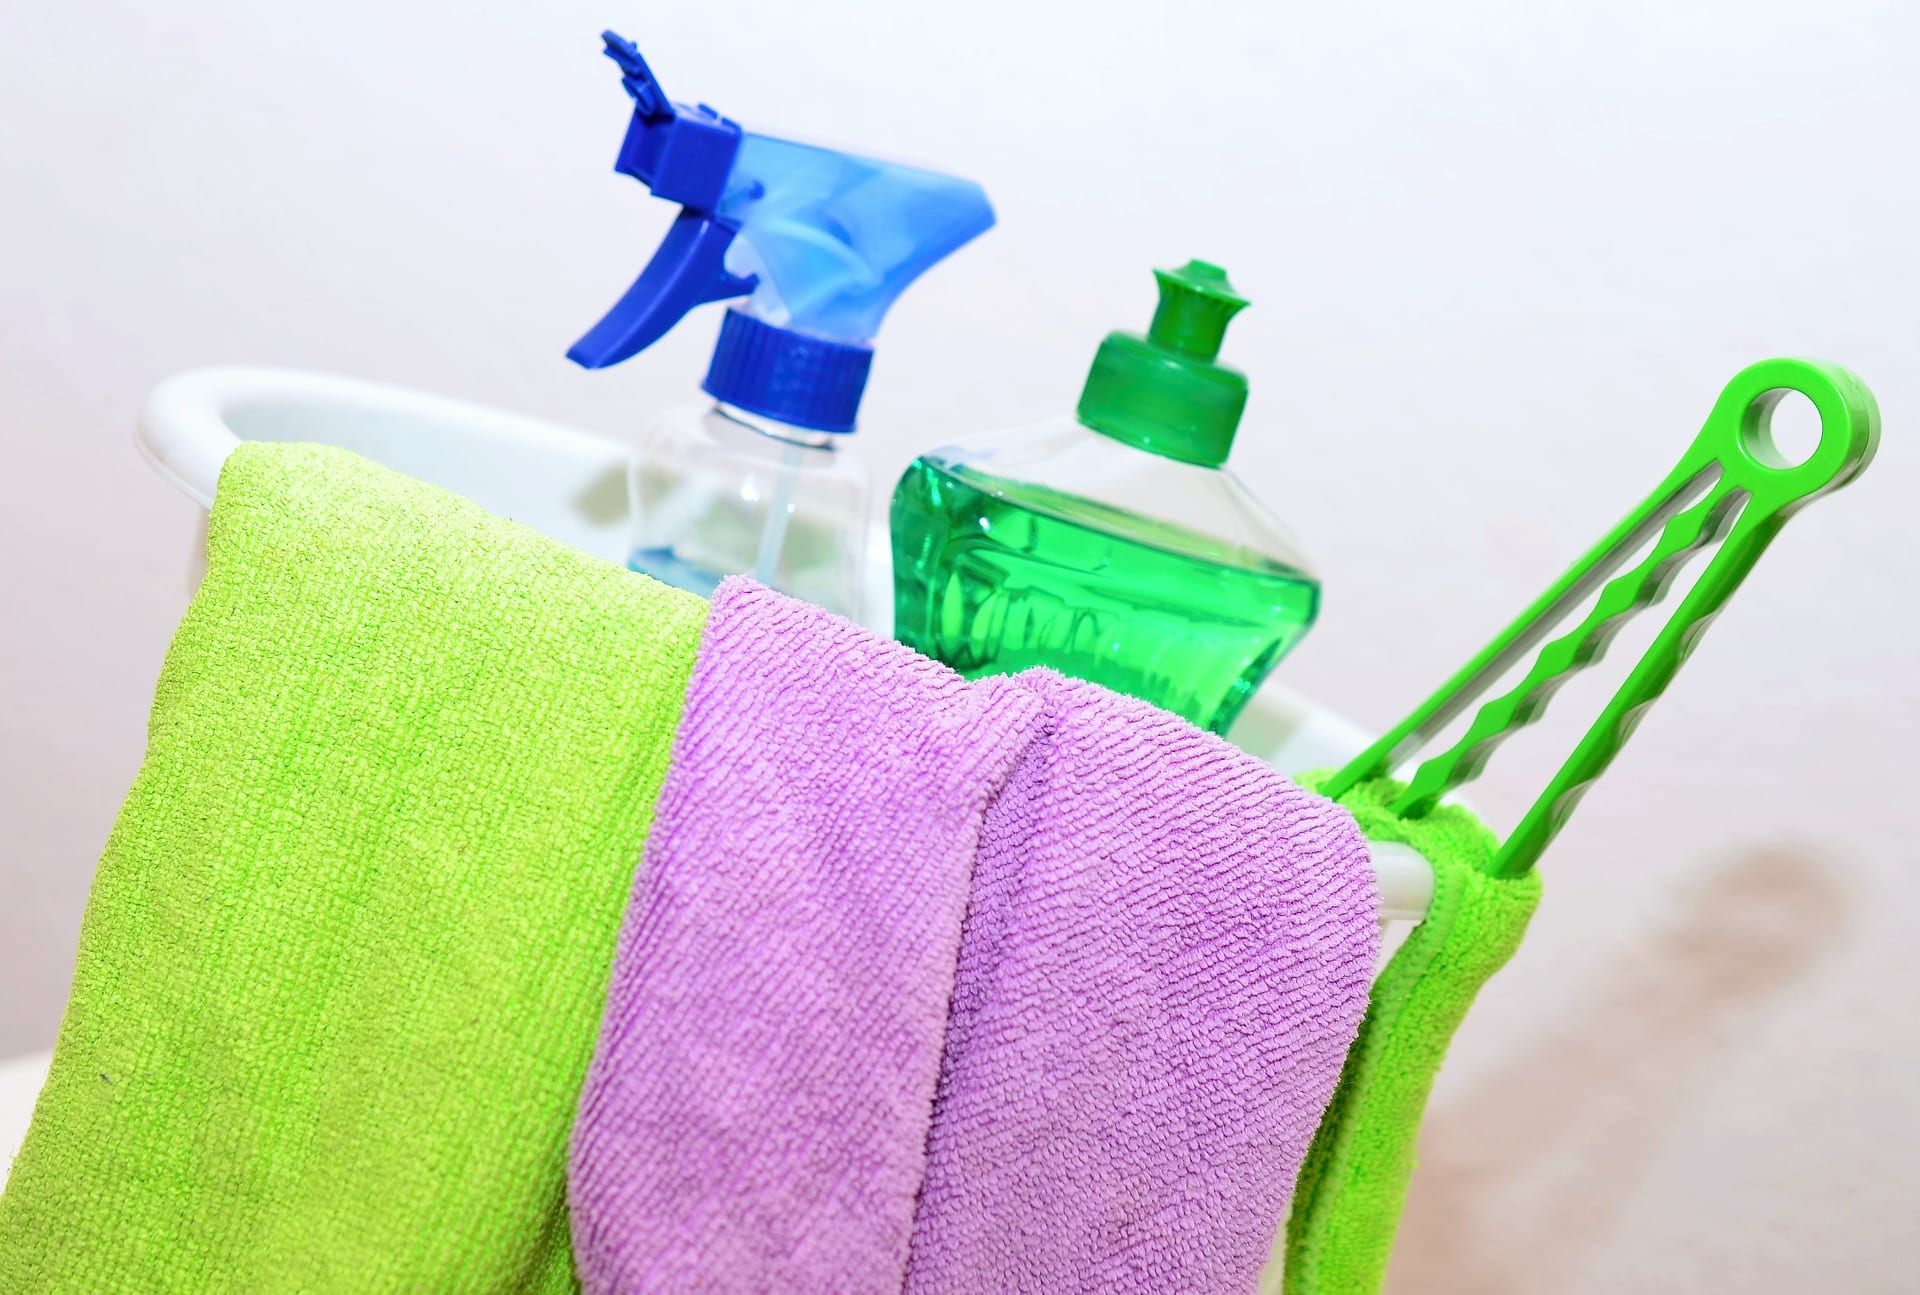
Here are the tools you need to get that spectacular clean:
1. Window cleaning solution (either store-bought or home-made)
2. 2 microfibre cloths
3. Bucket
4. Sponge
5. Squeegee
6. Duster or vacuum
How to get a good clean
1. Remove curtains and blinds
The first step is to remove any curtains or blinds from our windows in order to give us ample space to clean. This is also important so that we don’t get wet cleaning solution on those lovely drapes!
Although most curtains and blinds can be moved sufficiently away from windows to give us enough space to clean, there may be situations where they may still restrict part of your windows. In these cases, it is usually best to temporarily remove these until the cleaning has been completed.
2. Remove dust
Before we start the clean, it is important to remove the dust that builds up on the window panes. Why is this important? Spraying cleaning solution on this dust can create a muddy nightmare for you to clean. You can end up spreading around this mud as you clean so it’s important that we deal with this first.
Use a dry duster and/ or vacuum to sweep away any dust from your windows, window sills and those often forgotten corners.
3. Get rid of built up dirt and stickers
The outside of your windows are particularly susceptible to the build up of dirt and grime since they are exposed to the elements all year round. Ideally a garden hose would work well to wash away built up dirt from the outside of your windows, but since this isn’t always a feasible option for most of us, a damp cloth also works just fine.
Dip part of your microfibre cloth in water and use this to wipe away some of that pesky dirt in order to prepare your windows for the next stage of the clean.
4. Clean the windows
Spray with window cleaner, then use either a squeegee or a microfibre cloth depending on the size of the window. Use a squeegee for larger windows and work from top to bottom. Make short, straight streaks using the squeegee and curve it downwards at the end of each stroke. Use a clean microfibre cloth to wipe the squeegee dry after each stroke on the window. This helps the excess liquid from the previous stroke from dripping and forming unwanted streaks and marks.
For smaller windows, use the microfibre cloth to wipe the windows after spraying them with the cleaning solution. As with the squeegee, work from top to bottom, but this time make small circular motions instead of straight strokes. Make sure to dry each window you clean before moving on to the next one, this helps stop the build up of unwanted marks and streaks.
5. Dry the windows
To help ensure you don’t leave any pesky streaks during this part of the window cleaning process, we recommend using a high quality squeegee with a sharp blade.
Using your squeegee, run down the window, from top to bottom. As we work downwards, it is important to angle the squeegee such that the excess water runs down the uncleaned area. Overlap each of the strokes by a couple of centimeters and wipe your squeegee in between strokes using your microfibre cloth.
Finally, if you notice that water has dripped or spilled somewhere on the window, wipe this area with a clean microfibre cloth to prevent streaks.
6. Polish window sills
Once this is done, use your microfibre cloth to dry all the remaining window cleaning solution from your windows. Do the same for any cleaning solution that may have accumulated on your window sill. Use your second microfibre cloth to then polish the sill dry.
7. Put everything back to the way it was
You’re almost done. The only thing now left is to put back all our cleaning materials and bring the curtains and blinds back to their rightful place.
And that’s it! You now have clean windows you can be proud of.